Author: Vince Mrykalo
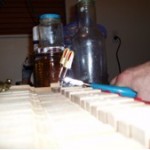
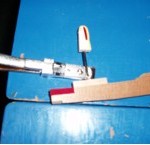
There are times you may just want to recover grand back checks with new buckskin, but other times you will want to replace the back check and wire, because the wire has weakened with age. In those cases, you need to safely remove each old back check and wire with minimal damage to the key, but first be sure to record the old back check height, so you can duplicate the height when installing the new ones. To remove the old ones, pry up on the wire with a pair of wire cutters to raise the back check out of its hole a little at a time (see photo #1).

If the old wire is thinner than the new wire diameter, you will also need to enlarge the hole slightly so as not to split the wood when inserting the new ones. If the holes are angled, just follow the same angle using your drill press. Usually the angle will be 68 degrees. If the holes are perpendicular to the top surface of the key, follow that.
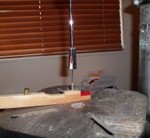
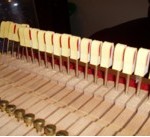
Once all the old checks are removed and the holes done, you are ready to install the new checks. Use your drill press and your back check “remover” tool to press the checks into the holes (see photo2).

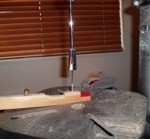
Adjust the quill feed of your drill press so the checks will all be inserted at the correct height (photo 3).

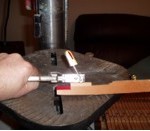
After all the new checks are installed, if they are perpendicular, you will need to make the correct angle bends (see picture 4)

using the back check wire bending pliers (see picture 5).

This tool should bend each check back to the correct angle of 68 degrees (see picture 6).

From there you are ready to space the checks to the hammer tails, and then adjust hammer checking.